Top 10 Tips For Beginner Knitters And Doable Projects At Home
Have you gotten bored this past year at home during quarantine or have gotten bored during the summer break? Do you want to get your hands moving and do crafts at home?
Well, knitting projects are a fun project to try and start. I started knitting in elementary school with my friends and we made a lot of different fun things. But one of my favorite knitting projects is to make scarves.
Here are 10 tips for beginner knitters and doable projects at home.
1. Choose the right type of yarn
Choosing knitting needles and yarn is one of the important beginning steps in a knitting project. Having the proper and suitable needles and the yarn is a beginning step to ensure a knitting project can be done easily.
Using a thin yarn with bulky and large needles will make your project have large holes while using thick yarn with thin needles will be very difficult to knit. Different yarn sizes, aka yarn weights, will usually be paired with the appropriate needle size.
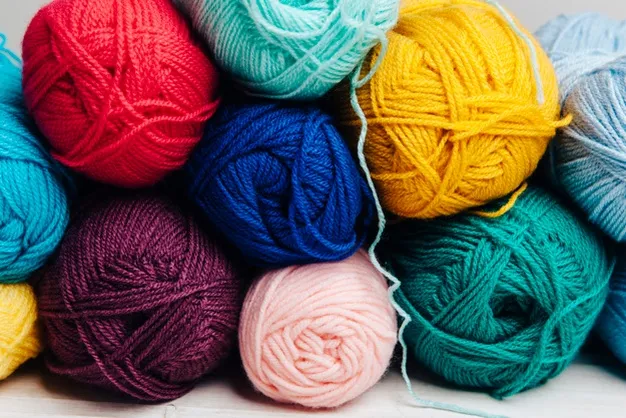
From my experience, needle size and yarn weight should match with the label, but sometimes going a little off the sizes will be okay too. I like using the medium-weight yarn with U.S. size 8 knitting needles.
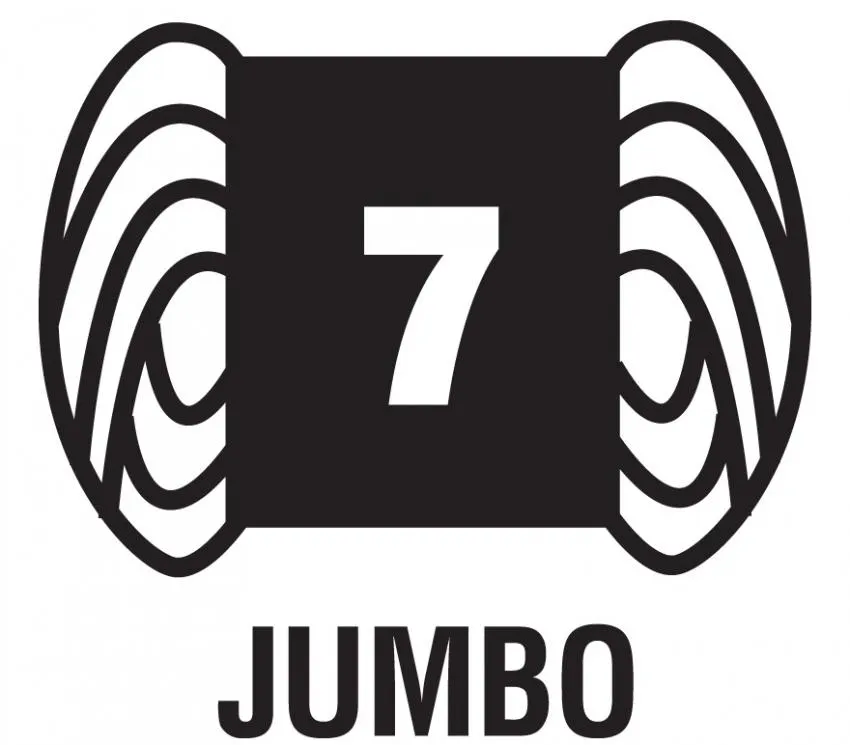
| Yarn weights and symbols | Types of yarns in category | Recommended needle in U.S. size range |
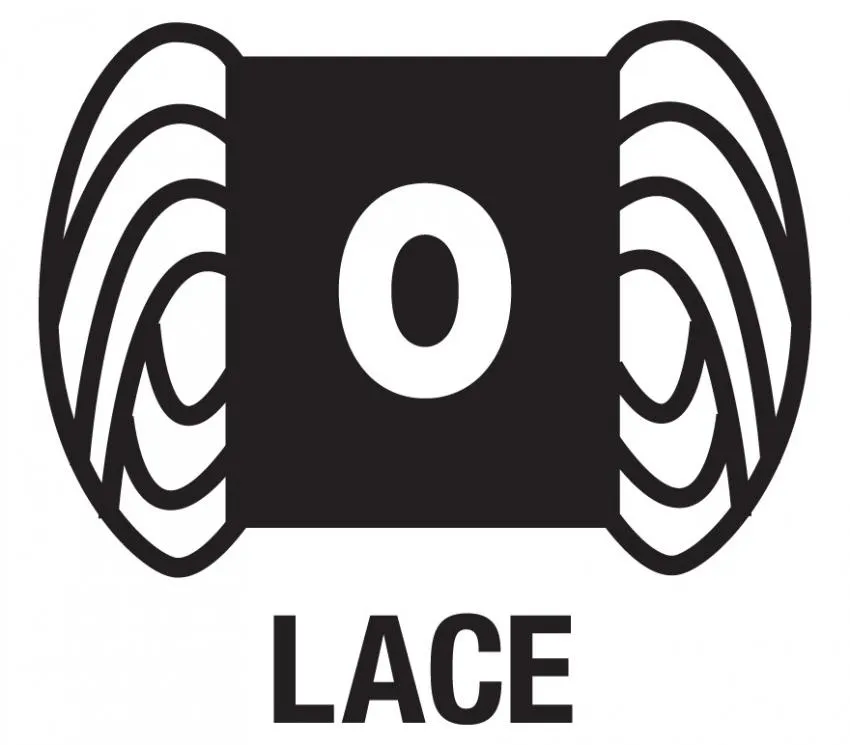
|
Fingering 10-count crochet thread | 000-1 |
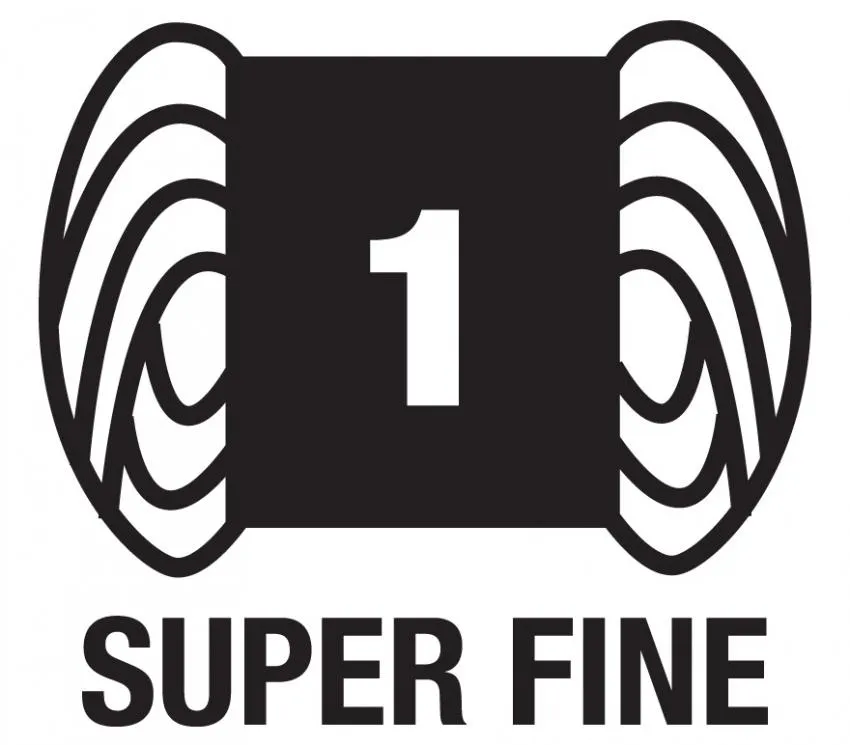
|
Sock, fingering, baby | 1-3 |
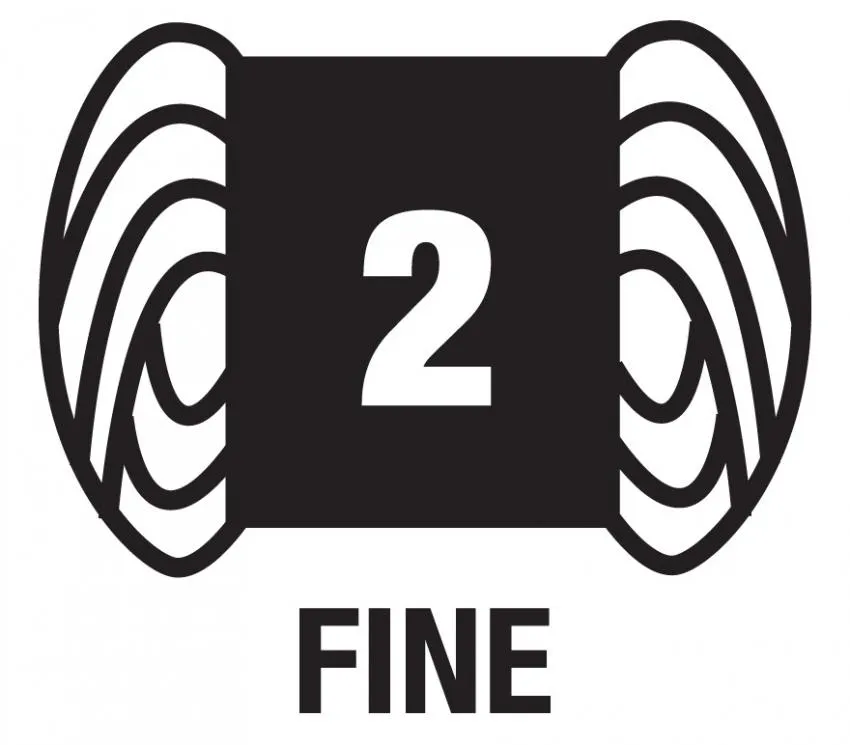
|
Sport, baby | 3-5 |
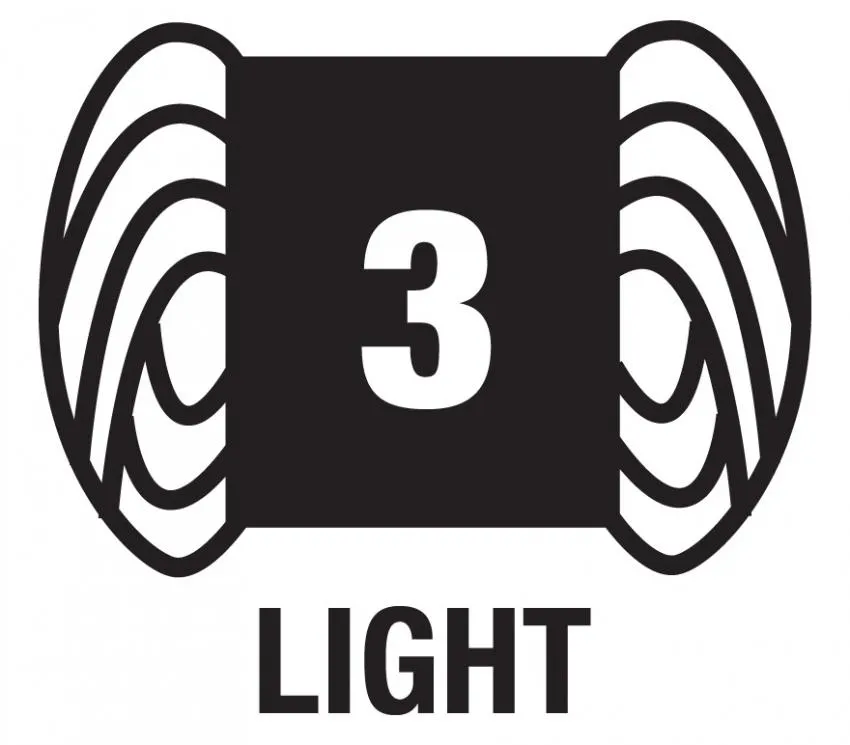
|
DK, light worsted | 5-7 |
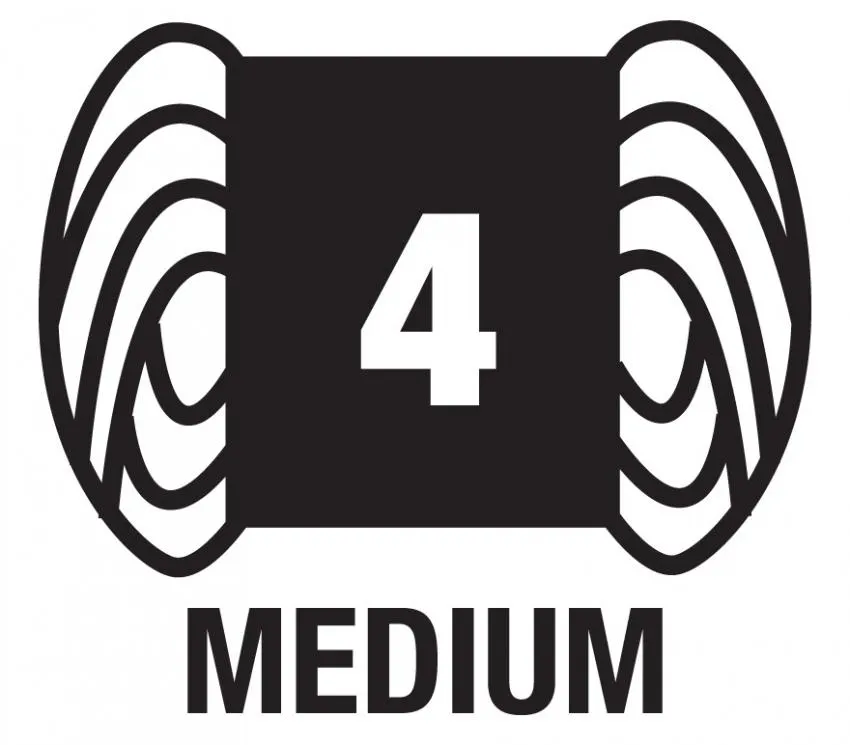
|
Worsted, Afghan, Aran | 7-9 |
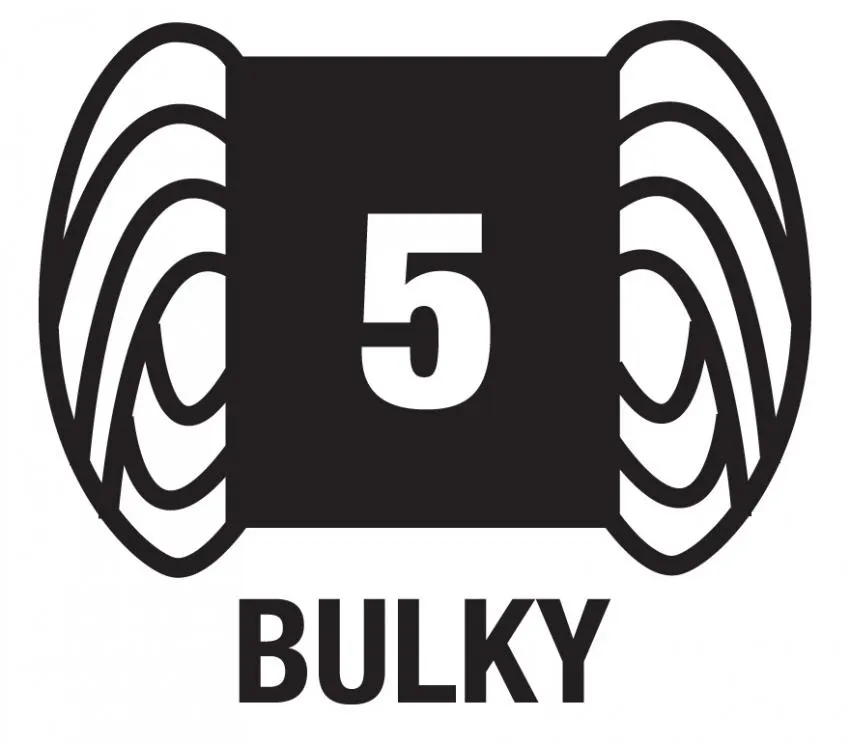
|
Chunky, craft, rug | 9-11 |
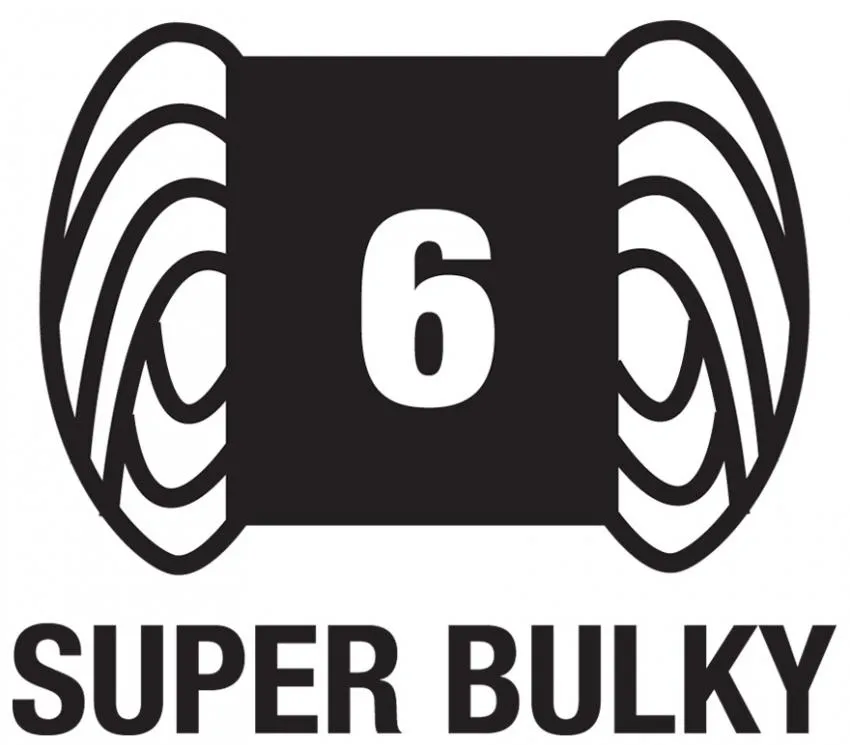
|
Super bulky, roving | 11-17 |
|
Jumbo, roving | 17 and larger |
2. Choose the right knitting needles
There are many different types of knitting needles. There are metal ones, wooden ones, longer and shorter ones, and circular needles. Different needles are used for different types of projects. Straight needles, either wooden or metal, are usually used for knitting scarves, blankets, or sweaters. They are used for projects that are flat knitting pieces.
On the other hand, circular needles are used for projects like hats, socks, mittens, and other projects that require round knitting. Circular needles can also be used for knitting flat pieces too.
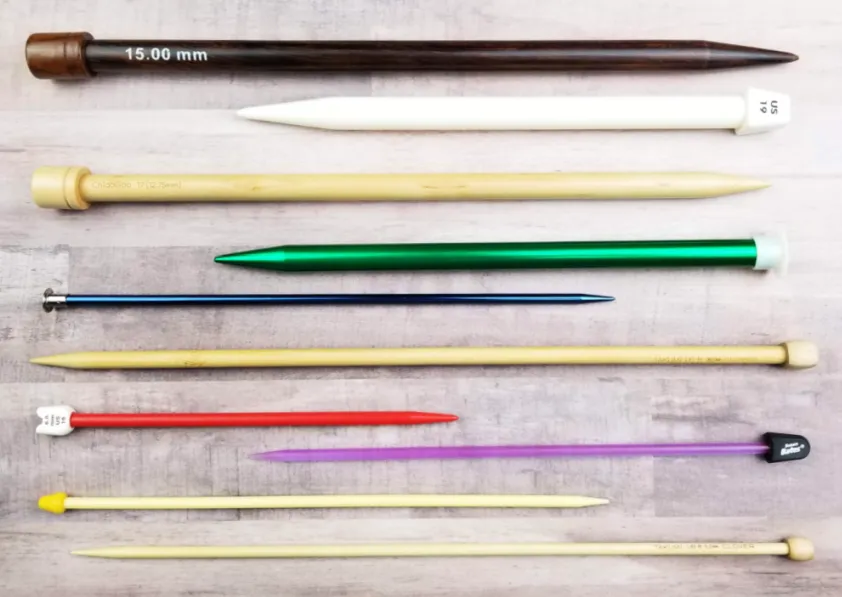
Metal needles are smoother and sturdier than wooden needles and I would recommend starting off with them as a beginner knitter. Metal needles are useful for yarns that tend to catch and unravel and easier for yarn to slip off.
Wooden needles are not as slippery and have a rougher surface. I prefer using metal needles because wooden needles wear off with time. Also, if you are a rough knitter like me, then using metal needles is a better choice.
3. Casting on the right way when knitting
There are two different and well-known types of casting for knitting. Casting on means putting your yarn on your knitting needles. It is the first row of stitches on the knitting needles. The two methods of casting on are the knit cast-on and the long-tail cast-on method. I personally prefer the long-tail cast-on method because it becomes easier to knit the first actual row.
The knit cast-on method is a good start for beginner knitters for many different reasons. You do not have to worry about the tail being too short after casting on. It is also a good cast-on method if you have to add stitches in the middle of a row. If you are knitting a hat or a sweater that requires some stretching in the middle of the first row, then the knit cast-on method is perfect.
I personally prefer using the long-tail cast-on method. I prefer this method because it is easier when actually knitting the next row. But one of the negative aspects of the long-tail method is that the tail might be too short at the end. One tip to avoid this problem is to wrap the yarn around your knitting needle the amount of cast-on stitches you need.
After this, you can create your slip knot and cast it on your stitches. This tip has helped me to avoid the problem of having too short of a tail after casting on stitches.
These two cast-on methods are the easiest and most convenient. But if you feel comfortable with these two cast-on methods, you can try the cable cast-on, wrap cast-on, or the frilled cast-on methods.
4. Select a knitting pattern
The two most basic knitting stitches are the knit stitch and the purl stitch. Once you master these two types of knitting stitches, you create many different projects and pieces. The knit stitch is one of the easiest stitches to master and learn. It can be used in blankets, scarves, washcloths, and many other projects.
After casting on the number of stitches you want, then you can start knitting. For the knit stitch, the working yarn is always in the back. Hold the empty needle in your right hand and hold the needle with the cast-on stitches in your left hand.
Next, insert the needle on your right hand into the first stitch from the back and create an X-shape with your needles. Then, wrap the yarn from behind over the right needle and pull the stitch off the left needle.
For the purl stitch, the yarn is always in the front, unlike the knit stitch. Insert the right needle from the bottom to the top in the front of the left needle. Then wrap the yarn from the front to the back and pull the stitch off of the left needle.
Once you master these two stitches, you can knit any type of stitches and pattern. There are the honeycomb stitch, ribbing, garter stitch, seed stitch, and many other different stitches that are a combination of the knit stitch and purl stitch. You can now choose your knitting pattern for your project after you have mastered these two stitches.
5. Keep stitches even and the same size
One of the hardest things in knitting is keeping your stitches even and your stitches the same size. If your stitches are uneven, then your knitting project will be uneven and there will be some small holes and some big holes in your piece. For example, your scarf will be wider in some places and narrower in other places. If you want your piece to look neat, then you must keep your stitches even. Don’t make some stitches lose and some stitches tight.
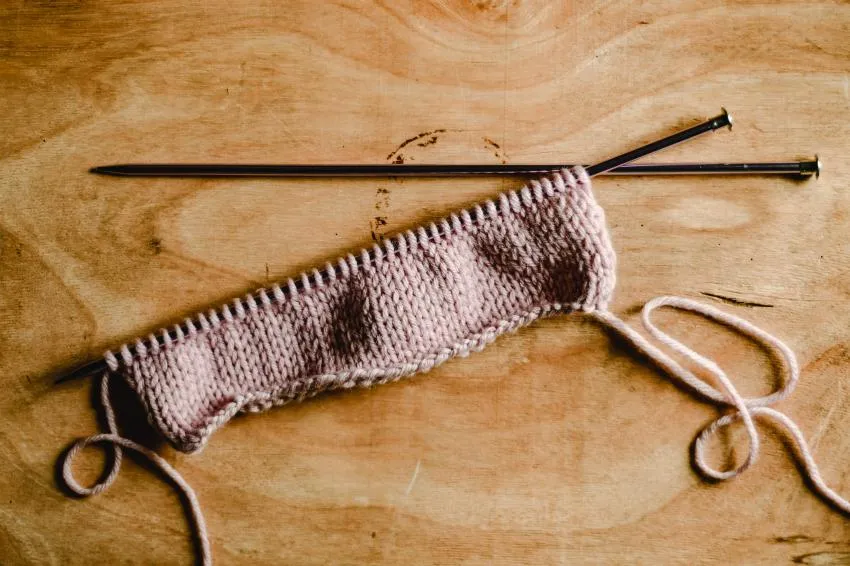
One of the tips to have even stitches is to finish a row before putting down your knitting. Don’t knit half a row and put down your knitting and come back to it later. If you put it down and pick it up later, then your stitches will be uneven because your hand will lose the feeling after a break. You might have tighter stitches in one part of the row and looser stitches in the other part of the row.
6. Don’t give up the first time
Knitting for the first time is not easy. You might run into some difficulties and make mistakes like dropping stitches or making an extra stitch. But remember making mistakes is a very normal thing when you are starting something new.
You might have to rip out your stitches in the beginning when you make a mistake, but just take it as practice. As time goes on, you will become more familiar with knitting and make fewer mistakes. Have patience and don’t give up.
When I first started knitting, I made many mistakes in my first piece. There were dropped stitches everywhere and my stitches were not even. But after a few more times of practice, my knitting became better and I did not have to constantly stare at my knitting. I could watch dramas on my laptop and knit at the same time.
7. Relax and enjoy yourself while knitting
Don’t get stressed out about knitting. It’s supposed to be a fun activity and project for you to enjoy. Knitting is a repetition of stitches, so after a while, it becomes relaxing to knit. It can calm your mind and take your mind off stressful situations.
When I get stressed or my mind is worried about something, I knit and watch dramas to get my mind off of stressful things.
8. Make sure you learn these knitting pattern abbreviations to avoid confusion
One of the most confusing things when finding knitting patterns are the abbreviations in the instructions. It is like a language just for knitters. I remember the first time I looked at scarf pattern instructions, I was so confused about what the notations meant. Notations like ‘K2. P2.’ or ‘K2tog’ made me clueless the first time I saw them. Therefore, here are some useful knitting notations to know:
| Notation | Definition |
| k | Knit |
| p | Purl |
| K2. P2. | Knit 2 stitches, purl 2 stitches |
| K2tog | Knit 2 stitches together |
| Yf | Bring the yarn to the front of the work |
| WS | The wrong side, referring to the back of the work |
| RS | Right side, referring to the front of the work |
| BO | Bind off |
| CO | Cast on |
| ssk | Slide 2 stitches as if to knit, one at a time, to right needle, insert left needle into the front of both slipped stitches and k2tog |
| YO | Yarn over |
9. Finish your knitting projects and feel more confident
If you start projects and never finish them, you will lose confidence in yourself and lose interest in knitting. For your first project, if you finish it, you will have a sense of accomplishment and feel proud of yourself. When I finished my first scarf, I felt very proud of myself and every time I looked at my scarf, I loved that feeling.

10. Try simple knitting projects to enhance your skills
A beginner project that I suggest is making a washcloth. You can use the knit stitch and the length of the project is very short. It is easy to finish in a short period of time and you can see your accomplishments very fast. If you want to start with a scarf, I suggest using a simple pattern for the scarf.
Don’t start with a complex stitch like the ribbing stitch that incorporates, the knit and purl stitch. Use the simple knit stitch for the whole scarf. You can either use thick yarn for a thicker scarf, or a smaller yarn size.

Another project that is fun to knit is a blanket. Knitting a blanket was one of my favorite projects. To knit a blanket you can use the heavier weight yarn and thicker needles. I recommended using circular knitting needles so your stitches will not fall off the needles. You can combine different colors of yarn to create a more exciting blanket.
Try out different knitting patterns and stitches when you become familiar with the two basic stitches, the knit and purl stitch. It’s fun to play around with different types of knitting patterns so you won’t get bored.
In conclusion, knitting is a fun project and skill to pick up at home when you are bored and have a lot of free time.
Opinions and Perspectives
I just started knitting last month and these tips are super helpful! I wish I had known about matching yarn weights to needle sizes earlier though. Made that mistake on my first attempt.
Anyone else find wooden needles more comfortable? I know the article recommends metal but I love the natural feel of bamboo.
Really appreciate the detailed abbreviations chart. I've been staring at patterns like they're written in alien language!
The part about keeping stitches even is so true. My first scarf looks like a snake that swallowed something - wider in some places than others!
I've been knitting for years and still sometimes struggle with the long-tail cast on. The tip about wrapping yarn around the needle first is genius.
Totally disagree about metal needles being better for beginners. My yarn keeps slipping off them! Wooden ones give me more control.
Making washcloths was such a confidence booster when I started. Small enough to finish quickly but still useful.
Never thought about the tip to finish a row before putting it down. That explains why my projects have inconsistent tension!
I learned to knit during quarantine and it seriously saved my sanity. Started with scarves and now I'm making sweaters!
The yarn weight chart is helpful but I wish they included more info about specific yarn brands that work well for beginners.
Actually tried the circular needles for a flat project recently and loved it. The weight distribution feels more natural to me.
Knitting while watching shows is my favorite way to relax now. Took a while to get there though!
My grandmother taught me to knit and she always said metal needles were the only way to go. Now I understand why.
I find the purl stitch much harder than the knit stitch. Anyone else struggle with this at first?
This guide would have saved me so much frustration when I started. I kept wondering why my stitches looked so loose with thin yarn.
Making mistakes is part of learning but frogging your work still hurts every time.
Really glad the article mentions not giving up. My first project was a disaster but now I'm making beautiful things.
Does anyone else find that different brands of the same weight yarn knit up differently? Been having issues with consistency.
Started with a scarf and honestly it was too ambitious. Should have gone with washcloths first.
The tip about wrapping yarn for long-tail cast on is brilliant! No more running out of tail.
I actually prefer working with chunky yarn as a beginner. Easier to see what I'm doing.
My hands cramped up so much when I first started. Wish the article mentioned proper hand positioning.


